I am a heavy user of Slides.com with more than a hundred presentations on my account https://slides.com/bahmutov. Under the hood, Slides uses the open source Reveal.js HTML engine to render the presentations. Recently I needed to port some GitPitch decks to run locally. Since I have never used Reveal.js directly, I found the Reveal.js installation instructions a little unclear. In this blog post I will show how to write HTML presentations locally using Vite.js and Reveal.js NPM module.
📹 You can watch this blog post as a video at https://youtu.be/uXx6rpElGDA.
Setup
First, let's initialize a plain JavaScript Vite project following the scaffolding guide
1 | npm init @vitejs/app reveal-vite --template vanilla |
Let's install dependencies inside the project
1 | cd reveal-vite |
🧭 You can find the finished project at bahmutov/reveal-vite.
The package.json file is very simple
1 | { |
Nice, and we are using the Vite 2.0 version that was just released 🎉
Tip: we can immediately install Prettier for ... hands-free prettier code.
The code
Let's look at the index.html file. We need to insert a DIV for Reveal.js to render the slides. All we need is <div class="reveal"> with <div class="slides"> inside. That' where we will edit our presentation.
1 |
|
Now let's look at the main.js. This is where we will load Reveal.js code, styles - everything.
1 | import 'reveal.js/dist/reveal.css' |
Vite will take care of bundling CSS styles and all our code - no need to insert multiple stylesheet links like <link rel="stylesheet" href="dist/reveal.css"> into our HTML page, or remember to add separate script tags like:
1 | <!-- ⛔️ this is all unnecessary with Vite --> |
Vite makes everything simple
Working locally
Let's start a local server to bundle and serve our presentation
1 | npm run dev |
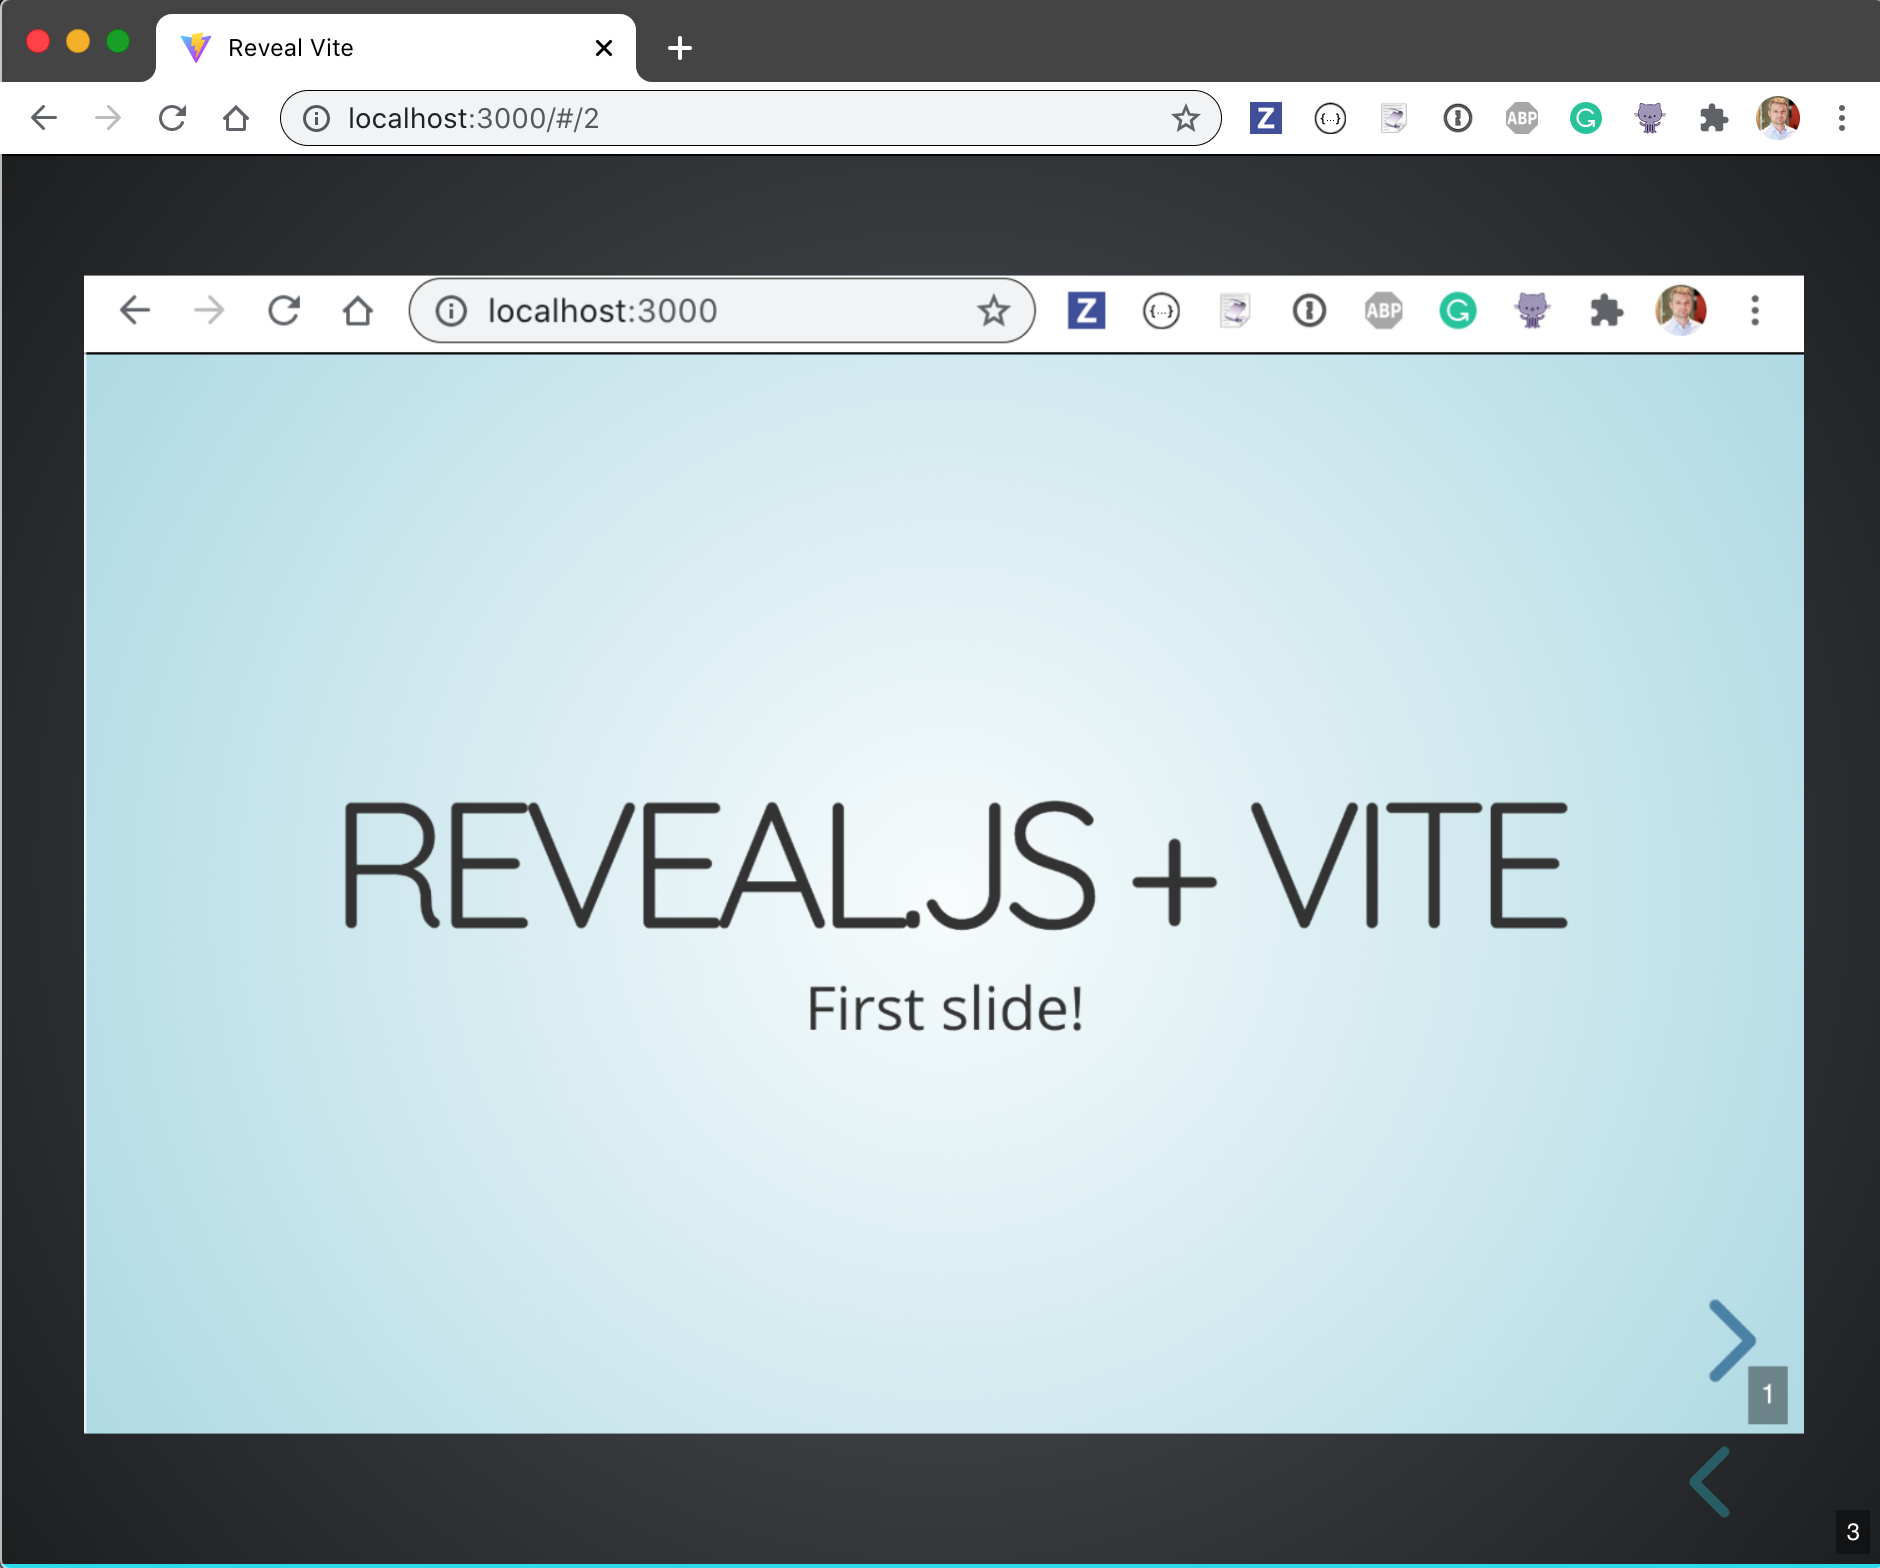
Wow, that was fast. But the best comes when we edit the presentation. Here is the browser and the code editor opened side by side.
We can also edit the main.js file - again, the slides presentation re-builds and reloads automatically. Vite tracks JavaScript changes, CSS updates, and HTML edits and reloads the minimum amount of code in the browser. The Reveal.js uses the URL hash to load the presentation back where we were.
Local media
Let's say we want to insert a static image or other media into the presentation. Vite uses the public folder for this. By default, it is assumed to be called public. Let's place our image screenshot.png there:
1 | reveal-vite/ |
From our index.html we should refer to the static resources using an absolute path without the public prefix:
1 | <div class="reveal"> |
Production build
Let's convert our presentation into a static site we can host anywhere.
1 | npm run build |
Vite has quickly created the minified bundles and placed them into dist folder. We can see our static resources there too:
1 | ls dist |
We can double-check the production site locally by using npm run serve command.
1 | npm run serve |
We can open the production site localhost:5000, it should look and behave just like our dev site.
Now that we have built the production site, we can host it somewhere. For example, we could host it on Netlify at "our site name.netlify.app" address. Subscribe to this blog post using RSS or follow me at @bahmutov to learn when the next blog post showing how to deploy and test the presentation gets published.