I get asked sometimes to show how I work. Usually, the process is difficult to describe. While I work, I often do not know if it will be a success or a failure yet. It is hard to justify spending hours documenting something that is not guaranteed to work out.
In this case, I have decided to write notes while I was working on the project. The project is a fun idea; the result is not very important. Even if the result CLI application is a novelty, others might benefit from the process write up.
The fun problem
Everyone is making jokes how slow NPM install process is. One of the jokes by Sindre became a start of a discussion seen here https://twitter.com/sindresorhus/status/702220589419753472
Idea:
npm installwrapper that opens a new gif every 5 sec during install to make it feel faster.
Idea: `npm install` wrapper that opens a new gif every 5 sec during install to make it feel faster.
— s̾i̾̾n̾̾̾̾d̾̾̾r̾̾e̾ (@sindresorhus) February 23, 2016
Ok, this might sound like a joke, but one guy implemented it right away. Check out https://github.com/vdemedes/gifi by Vadim Demedes @vdemedes - who is awesome developer in my opinion. It plays GIF loops during the install by opening the gif in the browser. Cool, right?
Got an idea
Yet, I think we can make it a little more useful - I am only partially ok with gifs (or cat pictures). Think about all the useful things we could do in the terminal while waiting for the NPM install to complete. For example, we could show a section of the README document that describes how to use the module. Or show examples.
I already tried displaying a part of the project's README from the terminal, see
manpm. It would be great to divide the terminal into two parts, show
the regular npm install in one part, and the "install", "use" or "example" part of the README in another half.
Another possibility would be to show an terminal screencast movie using asciinema by Marcin Kulik @sickill - it is tiny, and could be very useful!
The implementation
Find the right libraries
Ok, let us see if we can output results from two commands side by side in the terminal. One command
will be the npm install command, while the second one will be a README part. Let us worry about the
terminal output first. I have heard about a library that implements very convenient user interface on top
of the terminal API (in Node JavaScript) called blessed and judging by the
projects that use it (like overviewer)
it can easily split the screen into multiple parts, each receiving output from a separate event emitter.
I did not want to go through an intermediate library like react-blessed,
preferring to limit myself to the blessed itself. Luckily the library has lots of examples.
I have read about this library in "Node Weekly" email newsletter #97 because the newsletters are one of my main sources of JavaScript and development news.
The code to put two horizontal boxes inside the terminal is simple. Here is the code with static text. The bottom text changes and redraws itself, see first.js for full source.
1 | const blessed = require('blessed') |
Scrollable text
Ok, the static text is simple, but how do we change the contents of the box based on the changing output of a child process? Luckily, we can easily modify text inside a box as it changes. Let us run a command and show its output in a box, and to avoid any Windows problems, let us use cross platform spawn module right away. We can use blessed log widget to add scrollable text to the screen. See second.js for full code.
1 | const spawn = require('cross-spawn-async') |
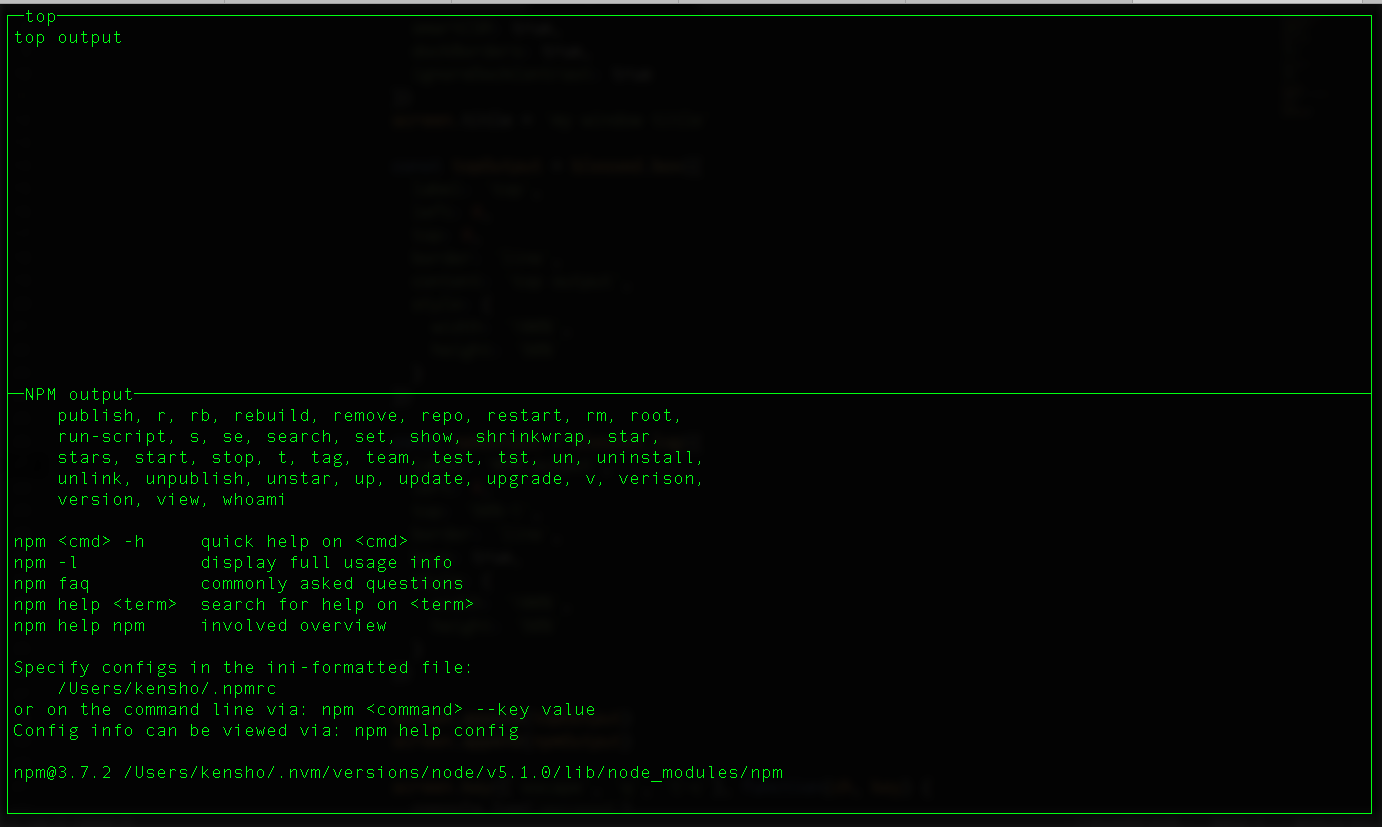
Now we have simple NPM output and it is even scrollable!
Making output useful
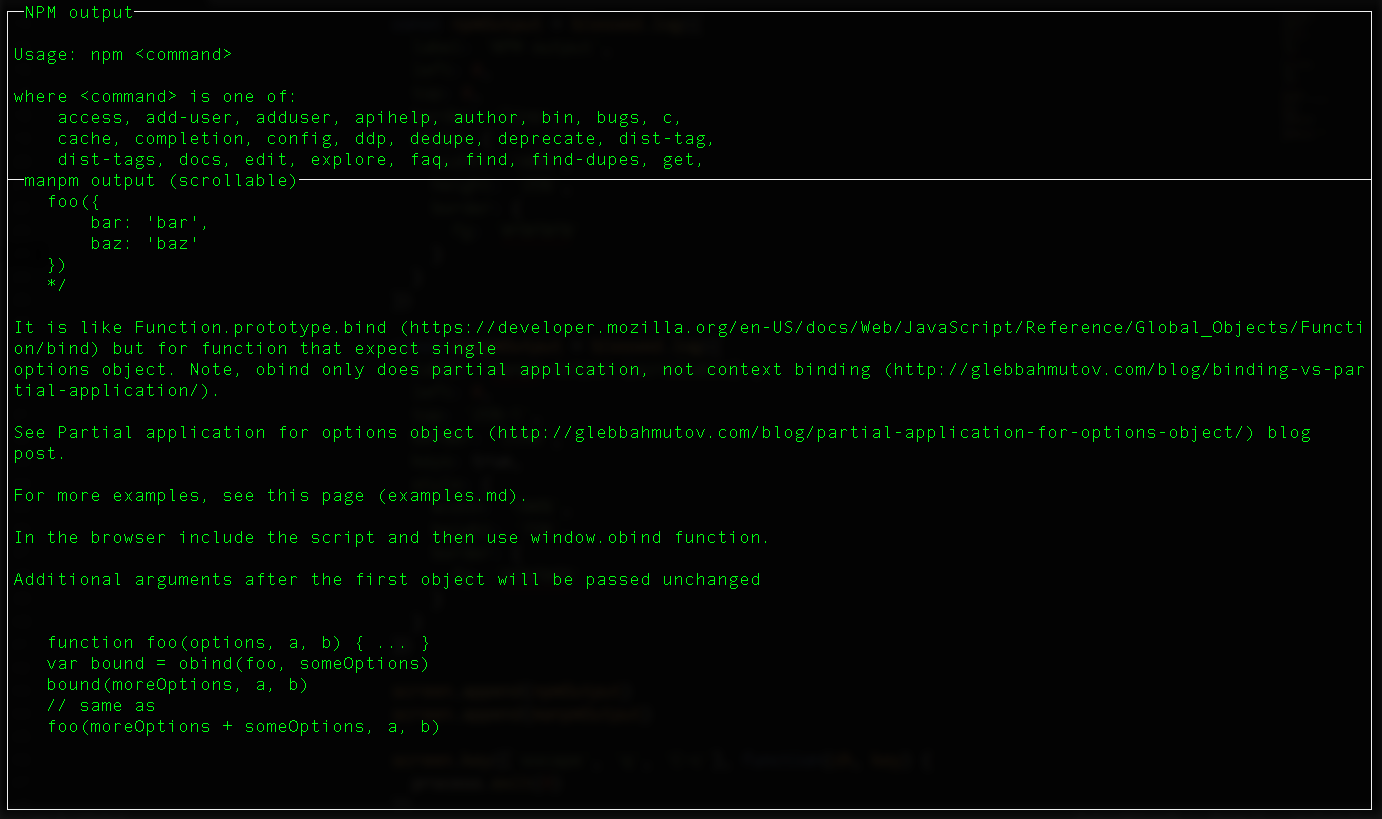
Let us add the output of manpm command (like hardcoded manpm obind example) and allocate more space to the
example, rather than the NPM output. Full code is in third.js, here is the important part (and it mimics)
very much the way we implemented NPM handling.
1 | const manpmOutput = blessed.log({ |
A good feature of manpm - if a section with the exact text match is not found,
the entire README text will be searched. If nothing matches, the README is displayed.
Finishing the CLI tool
All we need now is CLI parsing and we have ourselves a tool.
There are lots of CLI parsers, but in this case
we can just find the argument that is not one of the install|i|--save|--save-dev|-S|-D keywords.
1 | function findModuleToInstall() { |
Once we find the module, just pass all arguments to the NPM install, and just the name to manpm.
1 | const proc = spawn('npm', ['install'].concat(process.argv.slice(2))) |
A little bit of styling, and the tool is ready. After a little bit of searching for available NPM name (use namely to find available variants) I settled on "wiseli", formed by combining the expression "use time wisely" and the verb "install".
See the finished project at wiseli
npm install -g wiseli
wiseli install chalk
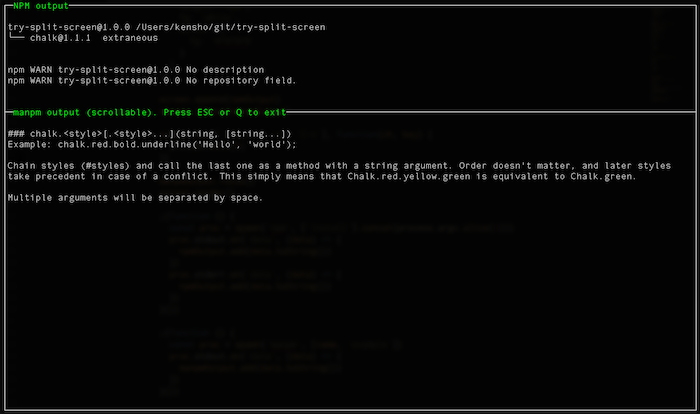
Nice, now I can try using the tool myself to find any problems or usability issues. I should also go through the NPM checklist to clean up the loose ends.
Conclusions
Main ideas that helped me in this particular project
- Twitter was an inspiration for the idea
- I connected several projects together, without writing everything from scratch
- I was aware of the libraries, even if I have never used them before
These 3 bullet points fit nicely to what I have written earlier about becoming a better hacker.